
Taking winning family photographs on an RV vacation, around the house or for special occasions, may mean including fur-covered friends, big and small. From horses to Chihuahuas, you can take great pictures by applying a few fundamentals to your pet photography.
Keep three words in mind as you prepare to photograph your horse or pet: light, level and location.
Before you actually start snapping pictures of your horse or pet make your preparations because once you begin, there won’t be much time. While animals are man’s best friend, a pet is not always a photographer’s best pal and won’t wait while you fiddle with gear and poses. Have a plan before you press the shutter and it will be a better experience for you and your horse or pet.
Light
Unless you have a high level DSLR and a separate speed light — flash or strobe – you can use off the camera, think natural light when it comes to taking pet photographs. An on-camera light, especially on a pocket camera, will cast a weak light directly into your pet’s eyes, creating red eye, loss of detail and inaccurate color – and that’s if you are lucky enough to get your shot. The shutter on smaller cameras can lag from the time you push the button – add in time to regenerate the flash – and your window for a great picture is probably gone.
The best light for your pet photography is natural light, preferably outdoors. Look for a clear area with nice, even light and put the sun at your back, shining directly on the spot you’ve chosen for your photograph.
“Palm reading” is a simple, unscientific way to check the quality of light for your pet photograph. With the sun still at your back, hold your hand out, palm up, over your photography area. See how the light plays across your palm. Are there speckles from a nearby tree? Is the light a dull gray because the sun is blocked? Adjust the position you’ve chosen for your photograph until the light is soft and even on your palm.
Plan to take your photograph first thing in the morning or in the last light of day, avoiding the harsh, detail-killing light of mid-day. Because the light travels further to reach us in the morning and afternoon hours, it is more diffused, or softer. Morning light is cooler and cleaner and is especially pleasing when shooting lights and darks. The late afternoon – the hour before the sun sets — is warm and works best for shooting golden or reddish colors.
Location
Your pet is the focal point of your picture, so don’t let a cluttered background steal the show. 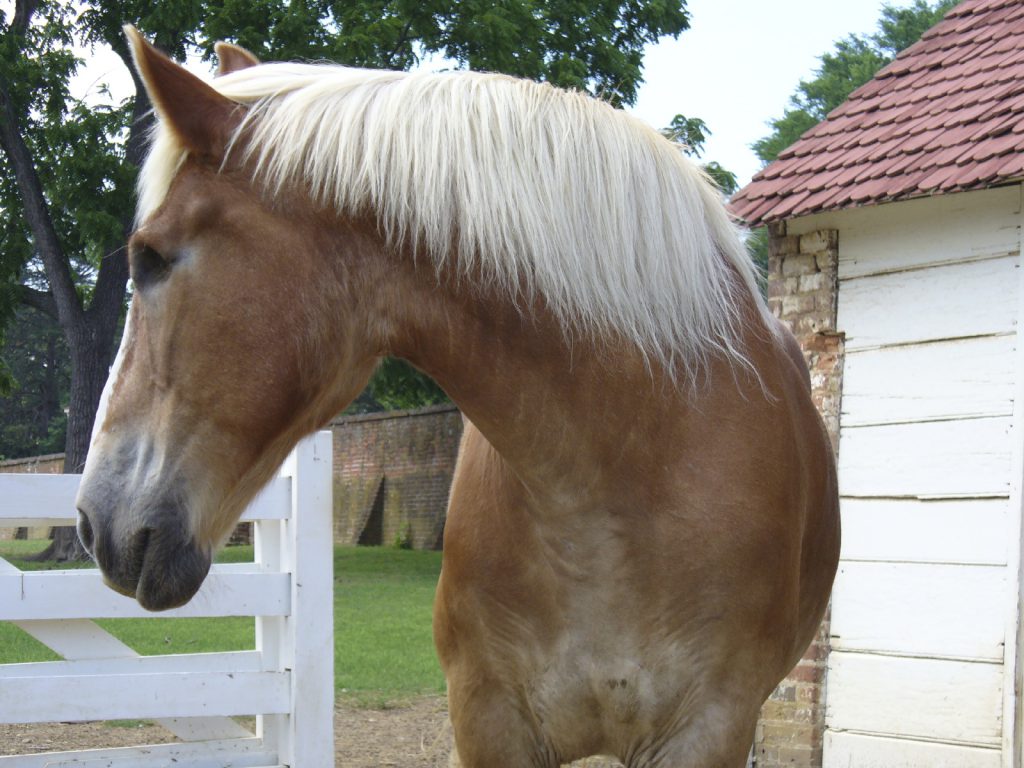 Choose a location at least eight feet away from the background to help create separation between your pet and the background. Look through the viewfinder of your camera, past the subject, scanning for light poles, multi-colored, multi-textured buildings and distractions. Pick up any debris and clutter. Shift around – keeping the sun at your back – to minimize distractions in your photograph. A few steps can make a huge difference in the content of your photograph.
Remember, you want your horse or pet to be the star; the background should just fade quietly away in your picture. Look for a simple hedge or fence, rolling green hills or open field, with an inviting light.
Level
The best way to get a great shot is to get down to the level of your subject. 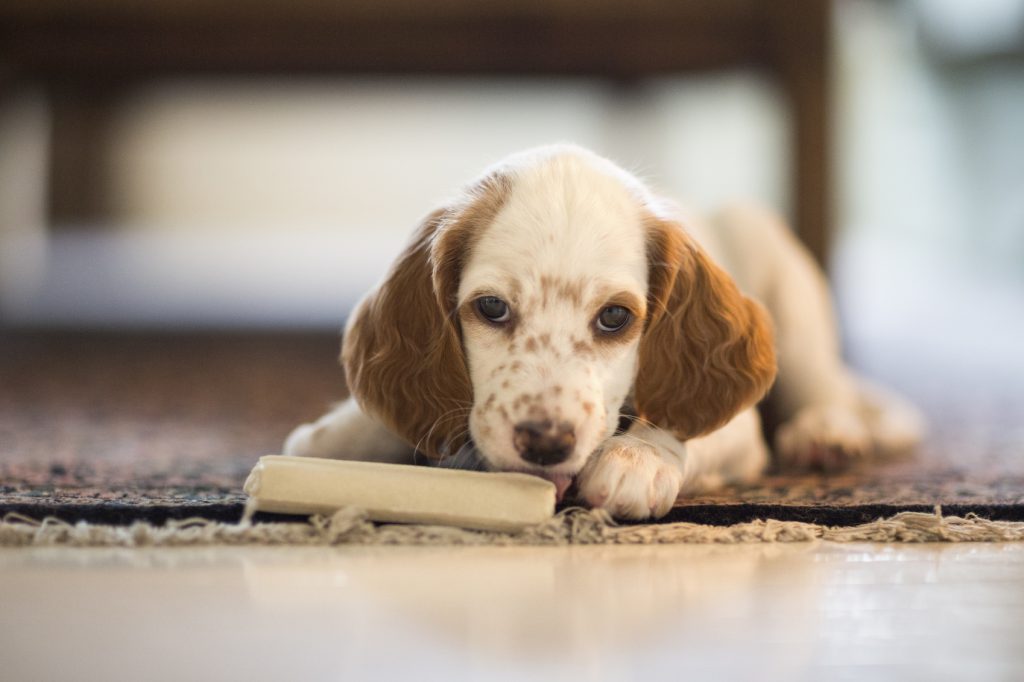
Photographing animals is about capturing our relationship with our horses or pets, and the window to that relationship is in the eyes. Get down until you and the camera are eye level with your pet to help show the partnership you share – even if it means laying down. When equines come into play, it may mean climbing on a utility ladder, box or fence to get eye-to-eye with your subject.
Standing tall above your pet is the superior position and casts your pet in an inferior light. Shooting from this position may be good for a gimmick or “pet shaming” photograph, but it can create distortion – a big head and little body – and will result in more of a caricature rather than a portrait of your pet.
Shooting from the inferior position – the photographer is lower than the subject — is a hazard of equine photography, and leaves many a photographer wondering why their prized pony’s dimensions look a little “off.” Level yourself with your horse’s eyes.
Zoom In
Now that light, location and level are settled, zoom in, if your camera allows. While it’s tempting to ratchet out to the widest angle to capture every inch of your horse or large
animal, the wide angle will create distortion that alters the proportions of your pet. Adjust your zoom while looking through the viewfinder until you see proportions that look natural. Ifa full-body image is what you need, just back up and get further away.
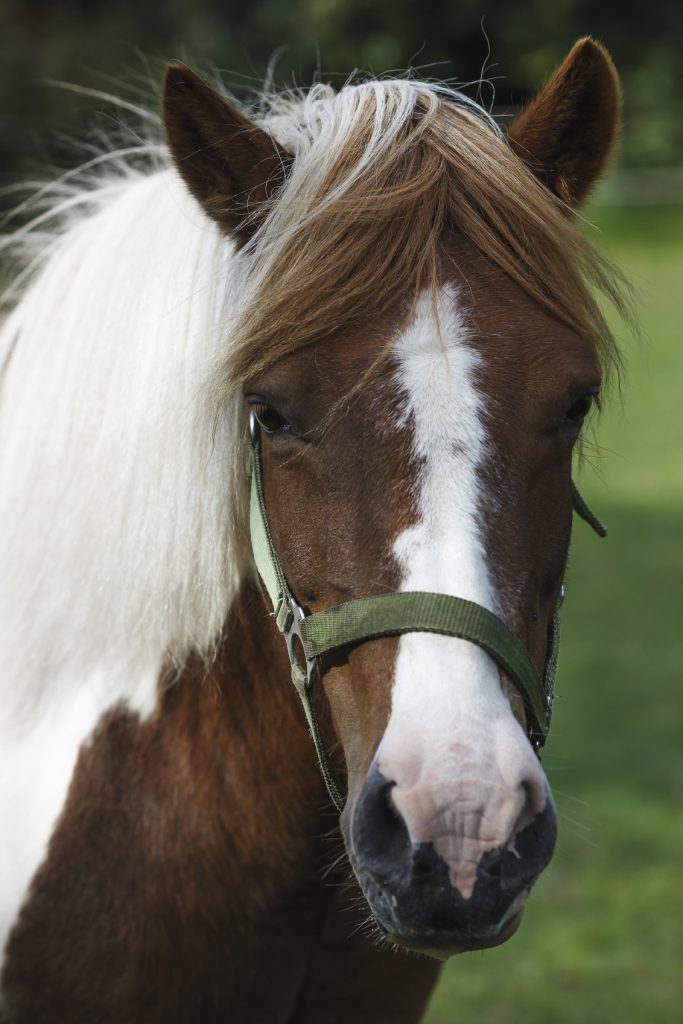
A great photograph captures the personality – or soul – of your pet. The windows to the soul are the eyes and that’s where the camera needs to focus. San Francisco based pet photographer Josh Norem says it succinctly, “If the eyes aren’t in focus, the shot is wasted. End of discussion.” If your camera allows, set the focus for a single focal point – and aim for the eyes — rather than “auto,” which will focus on the point nearest the camera — probably a nose or paw.
Preparation and Shooting
Chefs call it “mise en place” or “everything in place” — all the ingredients and tools — ready to go when it’s time to start cooking. In pet photography, it’s also the key to success.
Decide when and where you’re going to shoot, have your camera set and ready to go, check your background for distractions, have a blanket to lie on or your ladder to climb for the picture set up, before your pet enters the scene.
Have your pet ready to go – brushed, groomed – and happy. A quick play session before the shoot will get everyone in the right frame of mind (no pun intended).
Stay relaxed but work quickly. Use treats or a toy held over the camera to grab his/her attention. Avoid having other people on the scene shouting out instructions that may confuse or stress out your pet and take attention away from the camera.
Shoot quickly. If your camera has a “sports” or “burst” setting, use it to shoot a series of pictures rather than trying to get the one perfect image. Remember, you’ve already done the hard work – checking out the light, choosing the right location and getting on the right level – now you’re composing your photograph with a focus on the eyes.
Most animals have a short attention span for photography. If you don’t get that perfect shot, come back tomorrow and try again. The results – and the experience — will be better for everyone.
When you’re ready to go “on location” for your pet photography, be sure your RV is road worthy with a service visit to the professionals at Crossroads Trailer Sales. And for all you horse enthusiasts, don’t forget to browse our great selection of new and used horse trailers.