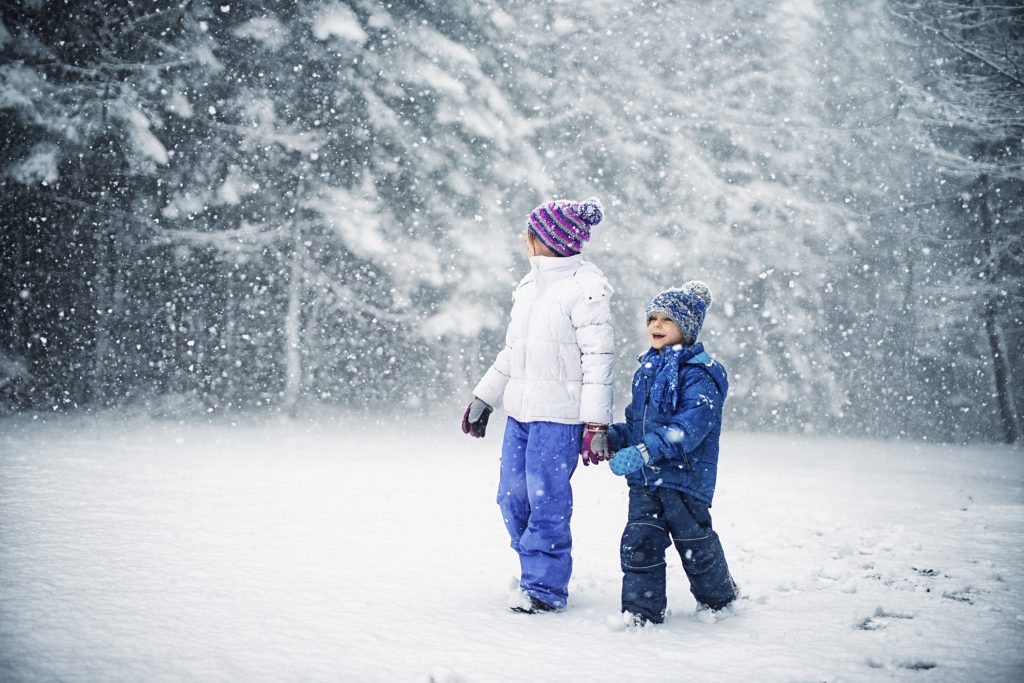
It’s a beautiful morning at the campground and fresh snowfall has turned the woods into a photographic playground. Before heading out on your winter outdoor photography trek, read these simple preparations and tips to make sure you return home with great photos.
Protect yourself
No photograph is worth frostbite. Prepare yourself before heading out on a winter photo expedition. Wear multiple layers of moisture-wicking materials and cover your head. Resist the temptation to go gloveless or wear fingerless gloves. Instead, visit a camera shop and check out the selection of photography-friendly tech-sensory gloves designed to keep your hands warm, while freeing your fingers to work the camera’s controls.
Protect your gear
Protect your gear and make sure it’s ready for action when you spot that forest creature out in the snowy field.
Pack your camera in a waterproof, insulated backpack to keep it warm, dry and safe until you’re ready to shoot. When you take it out, keep it close to your body, preferably under a jacket or scarf.
Your camera’s battery will deplete quicker in colder temperatures than warm, so carry a spare – or spares. Keep the spare battery in a pocket close to your body to keep it warm.
Avoid condensation on your equipment when you come back to your warm fifth wheel after a cold winter photography safari. While still in the field, wrap your cold camera in an airtight plastic bag so condensation forms on the outside of the bag, rather than on and in your camera equipment.
No plastic bag available? Make sure your camera warms up slowly. Sit it on a cold windowsill or unheated, protected porch and gradually move it to a warmer area.
Getting the white right
A mostly white, snowy scene on a bright, clear day is a surprisingly difficult photograph to take. Camera meters base their exposure on a neutral, or 18 percent grey tone, so an all-white image may fool your automatic meter, resulting in snow that looks dull and gray. Expose for the brightest area in your frame to make sure you capture the bright whites.
If your camera has the option to adjust the exposure compensation, try adjusting it manually to a +1 or +2 to cue the camera that it’s shooting something bright and white.
When it’s coming down
Shutter speed is critical when snow, rain or sleet is coming down. Consider the effect you’re looking for. A slow shutter speed will result in streaks and blurs from the precipitation. A fast shutter speed, 1/250 and above, will result in a clearer, crisper image.
Bring out detail
If your camera uses interchangeable lenses, consider using a polarizing or UV filter. A polarizing filter will deepen the sky, cut down glare and bring out detail that might otherwise be lost. On a hazy, foggy day, a UV filter will result in clearer, crisper images. Either filter will protect your expensive lens glass from the elements. Add a hood to the end of your lens to block flares of light from bright sun light bouncing off the white surroundings.
Timing is everything
No matter the season, shooting in the early morning or late afternoon is the right decision, but never more so than in winter. The low angle of the sun results in longer, more dramatic shadows, which can add much needed contrast to your composition. Use the cool quality of the morning light and warm glow of “golden hour” and cut-down on the bright glare of mid-day sun.
Adding some color
Now consider color and composition. Without the fresh green sprigs of spring, golden leaves of fall and brilliant blues of summer, winter photography can seem monochromatic. Look for a bit of wildlife, a green branch, a flash of blue or an early spring bulb. Frame your photograph, so that the angles and curves in your image draw the eye to the speck of color for the most dramatic image.
If you’re making a winter portrait, consider the final image: do you want a high-key image – one that celebrates shades of white – or a study in contrast?
If your subject is dressed in winter whites, turn your attention to the exposed flesh and eyes. The skin tones and highlights in the eyes will become the focal point of your picture. Use a short focal range of 5.6 or below and set your subject at least eight feet in front of the background. The background will become a soft wintery blur while the subject remains in sharp focus.
A brightly dressed subject creates natural separation from the background. Look for a “clean” background — a wall of white or a cleared field — so the colorful subject is the standout star of the image. When a person or wildlife is the focal point of your image, shift from metering on the brightest white and take your reading from the flesh or fur.
Close to home
It’s easy to lose track of time when Mother Nature surrounds you in her winter cloak, but no photograph is worth staying out too long or wandering too far afield. The best photograph just may be a tiny slice of nature right outside your door.
If you need a safe, comfortable base for your winter photography safaris, visit Crossroads Trailer Sales for a full-selection of four-season towable travel trailers and RVs.


